Showing posts with label sewing clothes for adults. Show all posts

Tuesday, July 16, 2013

Purple sundress and lightning bug hunter


sundress from scrap fabric

tieback sundress with lined top and long skirt
pictures courtesy of Mark

The fabric was from the flea market and it was already cut up in to long narrow pieces, so the front top is pieced vertically and the back top is pieced horizontally - with long tie straps out of several other pieces and the skirt of course pieced vertically out of the the rest.  Not too bad, considering - although the plaid mismatches all over from that.  In another fabric the same weight, it would be as nice, but it might not have come together the same way - as I did not use a pattern for the skirt and placed the pieces over another dress of mine to see how to cut and join them.

I really like the way it swishes and after making the skirt part (which was my original intention) it seemed to require a top that matched it and could 'hang' the skirt in a looser manner than a drawstring, zipper or elastic.  Esme and I also made cupcakes today, and she took a few up to Grandma with some watermelon.


Esme, the lightning bug hunter

She told me today that she says the WHEN now, not the FROM - the FROM makes the head go explode, so she says the WHEN now, is that good?  Well, yes... that sounds wonderful!  Thank you!  She is also saying things like 'ally-oop', 'eureka', 'luigi' and other words I have never heard her say before.  She asked me if dinner was a meal.. to which of course I said YES, and she said good, it will make her grow.  On the other hand - we had a discussion about her wanting to stay this size to play, and what a flea market was (when she knew what it was after I told her about giving away kittens there before).  When we were at the flea market she said 'oh, this is the yard sale.'  She is in the bath and there is school tomorrow... she found a little mud outside like usual ;) and a frog which she wanted me to take a picture of (A Mama frog with all the colors and the legs that go up and go down and she is stuck.. oh, (she went away))

Wednesday, October 10, 2012

nouveau shirt


This was made with some fabrics on hand - started back a few weeks ago when I had made a skirt for myself. I finished the sleeves and facings today - but did not put on the buttons it is planned for.  I want to wear it and let it 'relax' a bit before I decide where the buttons should fall.  The front flaps are very stiff still as they are lined with a thick green Kona cotton and the lighter cream fabric is a Japanese rabbit pattern fabric leftover from way back when I made Esme's rabbit pants.  The Japanese fabrics are a very fine thread count and it can be felt when it is worn and in how it sews.  The 'nouveau' fabric is something slightly lighter in weight that was on the clearance rack nearly a year ago... it helped stretch the rabbit fabric into something useable as it was a scant yard to begin with.


It fits fairly well - slightly shorter sleeves and there is a bit of a shoulder-to-neck gap that would be nice to fix in an upcoming version. You can see the gap in the first picture where it sort of 'rises' right at the top of the arm.  I'm a bit wider in the shoulders than most people - so I would need to widen the pattern there and taper it back towards the front differently.  The body pattern was made from an old sleeveless shirt I cut apart - and the sleeves were added on and approximated out of a shirt pattern I had in my stash this morning.

Sunday, October 16, 2011

New dress for Esme, tunic shirt for Mama

Thank you to Daddy for taking pictures of both of us. I hope Novia sees them, as she was asking for them on Facebook.


putting on shoes


Bringing tomatoes to Grandma


the bag is wet
on second thought, she may be counting the tomatoes...


Mama has an upcoming career as a mad scientist, eh?


Esme's dress: Simplicity 5137, size 5, dated 1963. Sewn with no alterations except for the shortening of the skirt by half. It has a 7 inch zipper in it, and will need longer ones to keep her from growing out of them so quickly. With 9 inch zippers, these will make excellent winter dresses. My tunic shirt is the 'smash together' I was talking about a few days ago... needs a lot more work to make it fit me better, but this is usable, definitely good enough for working at home.

Both Esme's dress and my shirt were made with bits I had but did not have large investment in. There are other fabrics I will be happy using for her dresses now that I have a good 'plan of attack', ie: a pattern that is proven to fit.

//Note// The other day when I cleaned Esme's room I threw out almost everything underneath her bed. She saw it - and didn't cry as much as I had expected. Tonight she woke up in the middle of the night and had peed the bed - and I changed her bed. She hugged her Cookie Rabbit and Mr.Frog (her favorite lovey toys) and asked if they were 'ok' and they didn't get peed on, and they didn't have to go in the trash. I know maybe now why she shoves them way up under her pillow in the middle of the night - so nothing happens to them? It also affected me quite deeply that she thought I would throw them out... Mama is a meanie? There wasn't a lot under there that she really played with anymore, maybe a book 'The Magic of Everyday Things' that was not saveable, but I did know she liked. There was also one item that I did feel quite badly about throwing out on her, a cow flashlight she got last Christmas from a friend of mine at work. I dug it out after I put her back to bed and washed it with bleach downstairs - it wasn't really that bad, I just worried about the openings for the speakers hiding things I couldn't see.... It is bleached and waiting for her on her desk this morning. Mama is a softie, actually.

Wednesday, March 30, 2011

Tunic shirt


My continued experiments in making shirts for myself that have enough room in the arms and shoulders! Altered "my" shirt pattern (previously adjusted for my shoulders) mixed up with another vintage pattern that had a 'keyhole' type front.

I was trying to emulate this dress tunic on Etsy. However, I messed up the pattern on the collar and saved it by cutting it deeper and facing it simply. Also, my pattern did not want to gather well across the front and I had begun the collar too low to look much like the inspiration item, anyway. Will keep changes in mind to make the neck higher on a future project. I put tiebacks on the edges in red, which allows the front to be drawn tight and not look like a maternity shirt. My brother saw one of the shirts I had made for myself last year and thought the gathering across the front meant I was expecting. Yeep!


sleeves!


I always cut the sleeves generously, as it is the hardest part to fit with my very large arm muscles. I could try to take them in a little at the bottom half of the armhole next time - see how much I can cut and still lift and stretch the shoulder/arm muscles the proper distances without stressing the garment.

ALSO: Esme and I went to a crafty ladies type get together today, and we did enjoy ourselves. It was a show and tell of things that the ladies make and although I was running behind Esme for most of the morning I had her outfit, mine, and a few knitted things with us to show. The other ladies brought projects to work on - my work-in-progress was keeping Esme occupied with the right things. Miss Diana definitely wanted me to not worry about breaking anything or making noise - but I naturally wanted her to be good and not do any damage! She chased the cat around and did throw one fit about not being allowed to go chase the outside cat in the cold weather in her stocking feet. She was very good for the most part, and enjoyed lunch with us (I brought us chicken noodle soup and french bread and Miss Diana offered strawberries which are an Esme _favorite_) and drawing and playing with various toys that were about the place. Esme really does need to be around more different people, like this - as she tried to call Miss Diana 'Grandma' and her husband 'Santa' *haha*. One thing Esme did that made me doubletake during the visit was she found a large plastic bank that was shaped like a combination lock. She went over to the door of the sunroom and slipped it on to the door handle and told us we were locked in. HAHA. And she was extremely interested in the loom they were trying to repair on the main table - she tried to measure it with the measuring tape and did break that the same way she breaks my measuring tapes here at home. Miss Diana did want to have her back another day - she said it was a lot of fun and she wanted to spend more time with Esme :)

Wednesday, March 23, 2011

tank top patterns


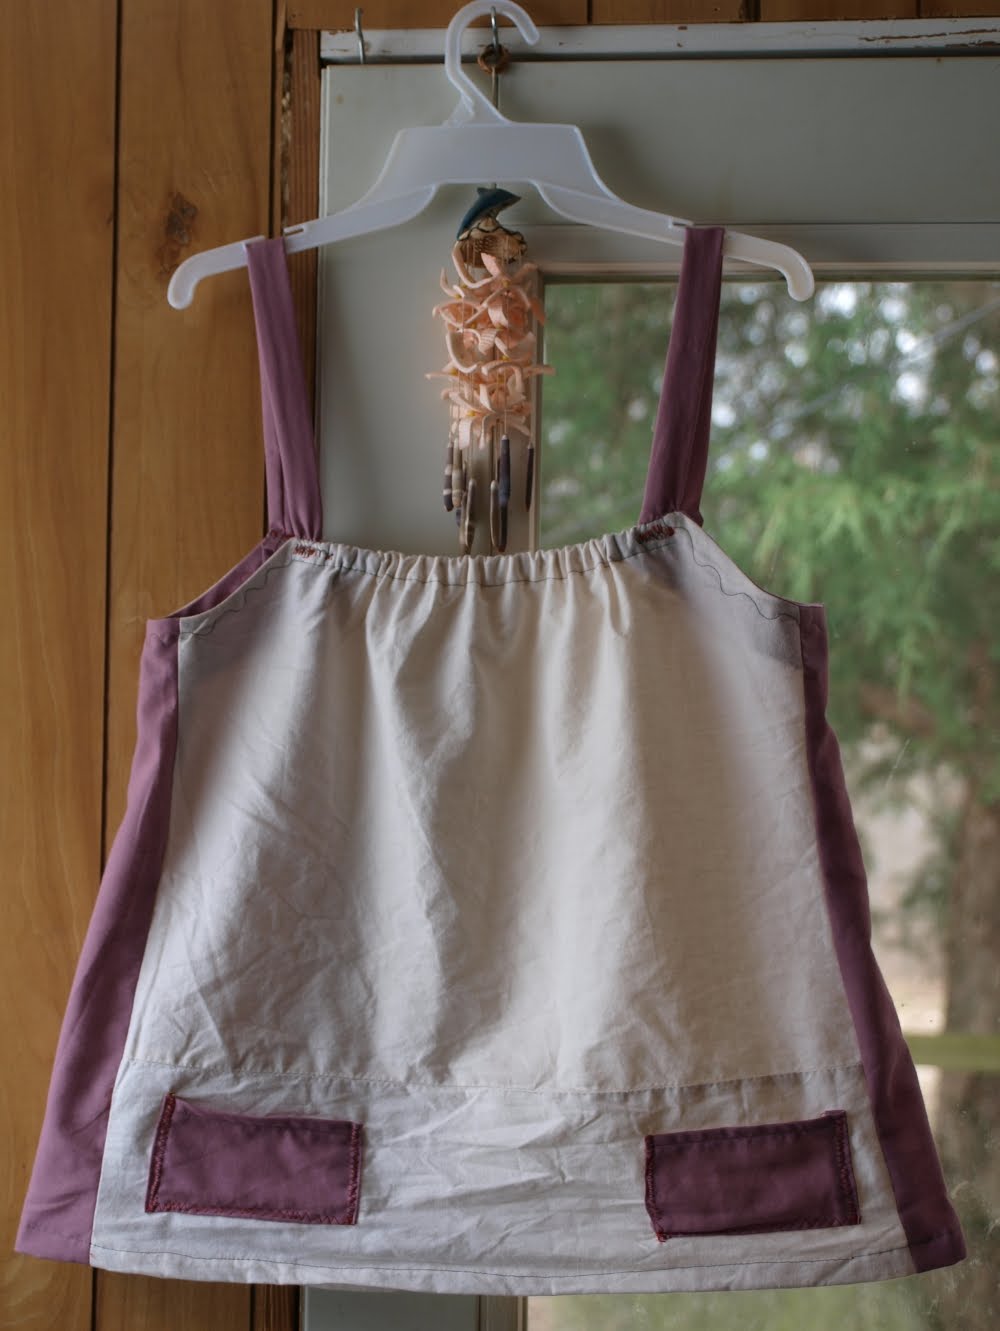
Very simple tank top patterns. Use the back of a t-shirt that fits you well to get the armhole shaping - then add at least two inches to the sides to make in regular cotton. Choose something very light-weight that will gather softly and breathe well in hot weather. To make the garment easy to put on and take off (as there are no buttons or zippers) make sure the bottom hem distance is wider than the distance across your shoulders.


For this style make the front and back sides alike, then estimate how large the side panels should be by holding up the front across your chest. Sew side panels to front and back on both sides.


dotted line shows facing shape


Lay flat so the armholes are in the center. Trace armholes for facings on plain fabric. Cut two facings. Zig-zag or serge bottom edges of facings and pin right-sides together with the armholes of the garment. Sew edge and turn right-side out. Sew 1/2 inch from edge to secure armhole facing down. Top edges of facings will be turned under in the elastic casings, so don't worry about finishing them.


orange dotted lines show where to turn under for casing and hem. red squares show attachment for straps after casing is elasticized


Fold top edges of front and back sides down to form casings for 1/4 inch elastic. Sew casings down and use a safety-pin attached to the end of the elastic to draw the elastic through the casing. Sew the elastic down firm at one edge of the casing and pull other end (on safety pin) to gather the front to nearly 3/4 the original distance. Sew the elastic down firm at the other end of the casing in the 'elasticized' position. Repeat for back of garment. Sew bottom hem all the way around. Make straps for shoulders as long skinny tubes turned inside-out. Measure over shoulder to find the right distance for the straps, add 1 inch to each side to give enough room to turn under raw edges and tack in place at 'points' of either edge above armholes.


very simple attachment and finishings - shown in 'whatever' thread colors as this was to be a house item for me


NOTE: I made this out of two old items, a pillowcase and a curtain sash that were both in a box of remnants I received. I used whatever thread was in my bobbins as I did not care about matching thread colors on this first run.

I really wanted more tank tops - but what you get in the stores are very overpriced for what they are, knit t-shirts that will tear up in the washing machine and start to tear out at the seams with frequent washings. Thus - this. It will work perfectly for what I've intended - walking in our yard, down to the lake and staying cool in the house in the summer and/or as a nightgown. It feels nice to be able to whip up something basic and decent quality out of what I have on hand and not have to pay money for something that will not last very long. Plus, because I made it - I can reproduce it, whenever I get some time.

Thursday, October 14, 2010

Sewing change of venue and Red Bravest Dragon jacket

For the record Esme was very good at our meeting this morning. She got a lollipop just as we sat down in the office and she played with her book, markers and a notebook and a paper dog I had made her. Except for being a terrible dictator to little baby kitty she has been a VERY good girl today. Cross your fingers - don't jinx that one ;)

For the past few nights I've been sewing in the kitchen downstairs - and haven't moved the sewing machine back upstairs in between. I'm about to do it for a permanent change - move the Singer table down there and sew down there all of the time. Esme can amuse herself in several ways down there and it is a more central location to what she is doing than the sewing corner is upstairs now.

The red fabric (labeled 'The Bravest Dragon' on the selvedge) went into a project for myself, another housejacket from the same altered McCalls pattern. I used the same alterations as last time but omitted the stand-up collar. It was altered from a size 14 sleeve and a size 10 body then those two items worked together to meet in the middle with more room in the arms and back shoulders. The grey fabric is what one fellow blogger calls 'television' (see right through it) with the red fabric trimming the facings and cuffs. It is very Japanese compared to the last one - with large sweeping cuffs. I'm not really sure where all the differences came from... sometimes that just happens. I think it actually might be a good enough job to wear it over a tshirt into work tomorrow... just until I switch out to my usual work zipped hoodie. Esme could care less that Mumum made herself a shirt... she didn't want me to use her buttons on it *ha* she wanted all her buttons to herself.

I think this jacket took about four hours. I was working on it for a good while before I went to see Grandma and Grandpa at six, and then it took me not quite until 8:30 to finish up the last sleeve and bottom hem. Hope to get pictures tomorrow and will post them here. go here for pictures!

Also a side note: Several times while I was sewing tonight I was thinking : 'I wish they made a LEFT HANDED sewing machine'... where the controls were on the left and the needle and fabric 'open working space' were on the right. I'm sure they probably do. I'm not sure why I think it would be any better for me, really.... but everything I put up on the machine seems to be 'backwards' from the side I want facing towards the outside of the working space, and I have to turn it around funny to get it in a good position to sew. I wonder if I'd just have the same problem half the time on a left-handed machine... since I'm actually ambidextrous :)
hmm....

I just looked it up. Sewing machines are actually left handed by nature - so I'm using the left-handed version and wanting the right-handed version for the first time in my life *ha*. Sewing machines used to be right-hand crank according to this article that is why everything else is done on the left-hand side. I'd rather have the controls on the left and the working space on the right. Apparently, I'm not the only one!